
Ok, time to grab our supplies.
Materials:
1 iced cake (duh, for icing tips check out my tutorial here)
1 large batch of buttercream (if your recipe calls for all shortening, sub out half for butter)
Parchment Paper
Picture to transfer
1 Piping bag for each of your colors
A couple round tips (I used Wilton tip 3)
Gel colors to dye your icing
The first thing you need to do is cut yourself a piece of parchment paper slightly larger than the pan you baked your cake in. Now place your pan on top of the parchment paper and trace it. This is your guide, as in your picture needs to fit inside this outline.

Perfect! I would like to point out a few things here. First off, your finished product is going to be a mirrored image of what you are looking at (ie. in my finished product Hello Kitty's spoon will be on the left hand side). For my example it didn't matter so I just went with it. If your image contains any words, you need to mirror your image. If you're fancy, you'll go on your computer and click a couple buttons and be able to print out a mirrored image for yourself. If you're not so fancy pants (like me), you'll flip over the piece of paper with you picture on it and trace it (little tip here, if you're having a hard time seeing your lines while tracing put your picture up to a window or over a lit up tablet).
The second thing I want to point out is a little more random. Did you know that you can't tape things to parchment paper???? Doesn't work - it just won't stick. My next step was going to be tape your picture to the parchment paper, but don't bother! My tape's just for show, you learn something new everyday!
Ok, time to tint your icing and fill up those piping bags, we've got some coloring to do! You want to start with your outline first.

Just a little aside here, I can't be bothered to make black or red icing. It takes FOREVER and usually requires close to a whole jar of gel coloring to achieve the true color. This is way too time consuming and expensive for me (plus the amount of dye used can affect the taste of the icing), so I just buy these 2 colors. If you still want to give it a go, here's a couple of tips for you. For black, start with chocolate frosting and then start adding your black food coloring. If you're making red, I hear the color darkens as it sits, so try making it the day before you need it. Also, Wilton makes a no taste red color that I highly recommend using.
Now it's just a matter of filling everything in.

If you're not sure how to fill this in check out this tutorial. I'm using the exact same techniques. The only difference is that I'm also taking my finger and smoothing the icing so it gets into every nook and cranny. Once your image is all filled in you have two options. You can stop here and just transfer the image onto the cake. Your second option is to continue filling in the background, all the way out to your outline.

I like to do the whole thing. It gives your cake a nice smooth top and you don't have to worry about getting your image perfectly centered when you transfer it on to your cake.
Now it's time to pop this baby into the freezer. You might have noticed that earlier in the post I mentioned that you need to have some butter in your buttercream. The reason for this is because butter will go rock hard when frozen, and I don't believe vegetable shortening (Trex, Crisco) will. If you've had success doing frozen transfers with shortening please leave a comment, I'm curious to know how it would work!
So, lucky for us busy bakers, these transfers freeze really fast. An hour should be more than enough time. Just touch it, you'll know. Next step is the exciting part, flip that transfer over and place it on your cake and peel back the parchment paper.

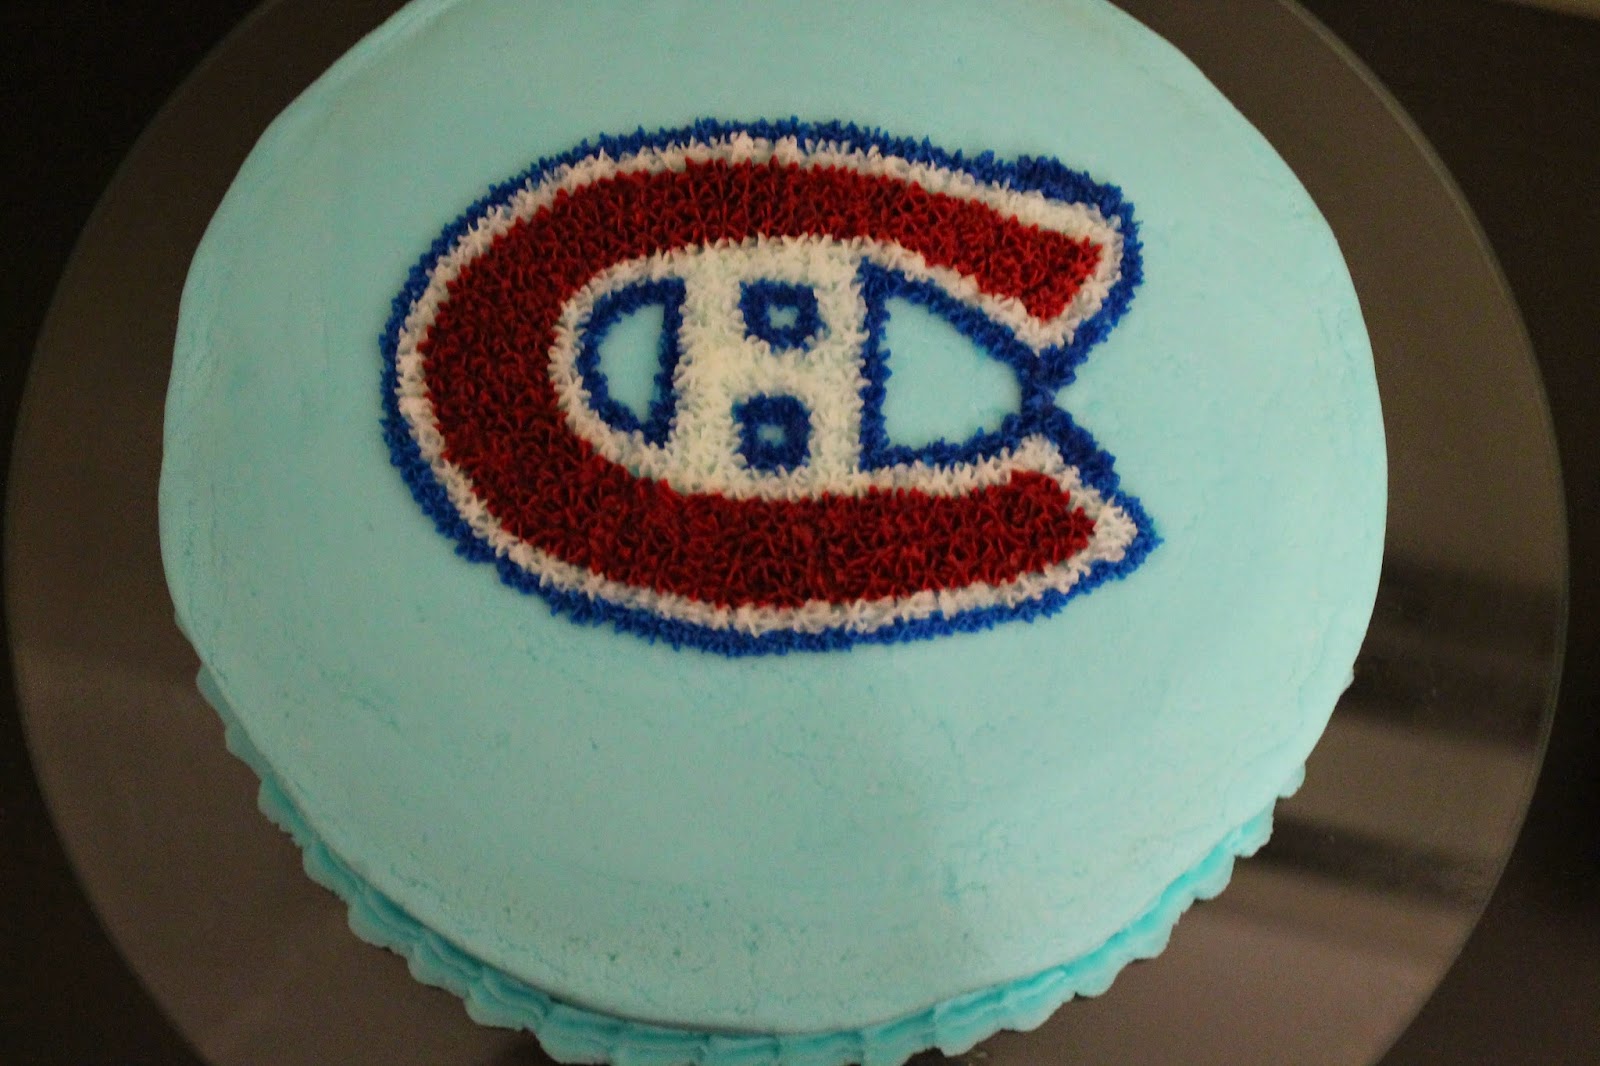
Ta da!!! You can see in my photo that there are a couple air bubbles. I just filled in the spots with my left over icing and smoothed them out. Now it's time for the finishing touches, I piped a shell border around the transfer and around the bottom of my cake (check out this post for shell border tips).

And of course, this tutorial was brought to you by cake number 4 and 5, before I knew how to do a proper frozen buttercream transfer!
.JPG)
I love seeing these side by side comparisons of my cakes then and now! Hope you enjoyed this post, time for some cake!

No comments:
Post a Comment